Mites are one of the few pests that move on their own through a clean culture room. A single infested vessel does not stay that way. The mites walk from box to box across the shelf, carrying fungal and bacterial spores as they go, and by the time you notice them they have usually already visited the neighbors. Here is how we respond the moment we see them: contain the spread, build a barrier they cannot cross, and remove the food source that drew them in.
None of this is exotic. It is aluminum trays, a borate solution, and a careful pass through the affected shelves with an autoclave at the end. What makes it work is doing all three at once: containment buys time, the barrier holds the line, and removing the food source ends the outbreak.
Reading the signs
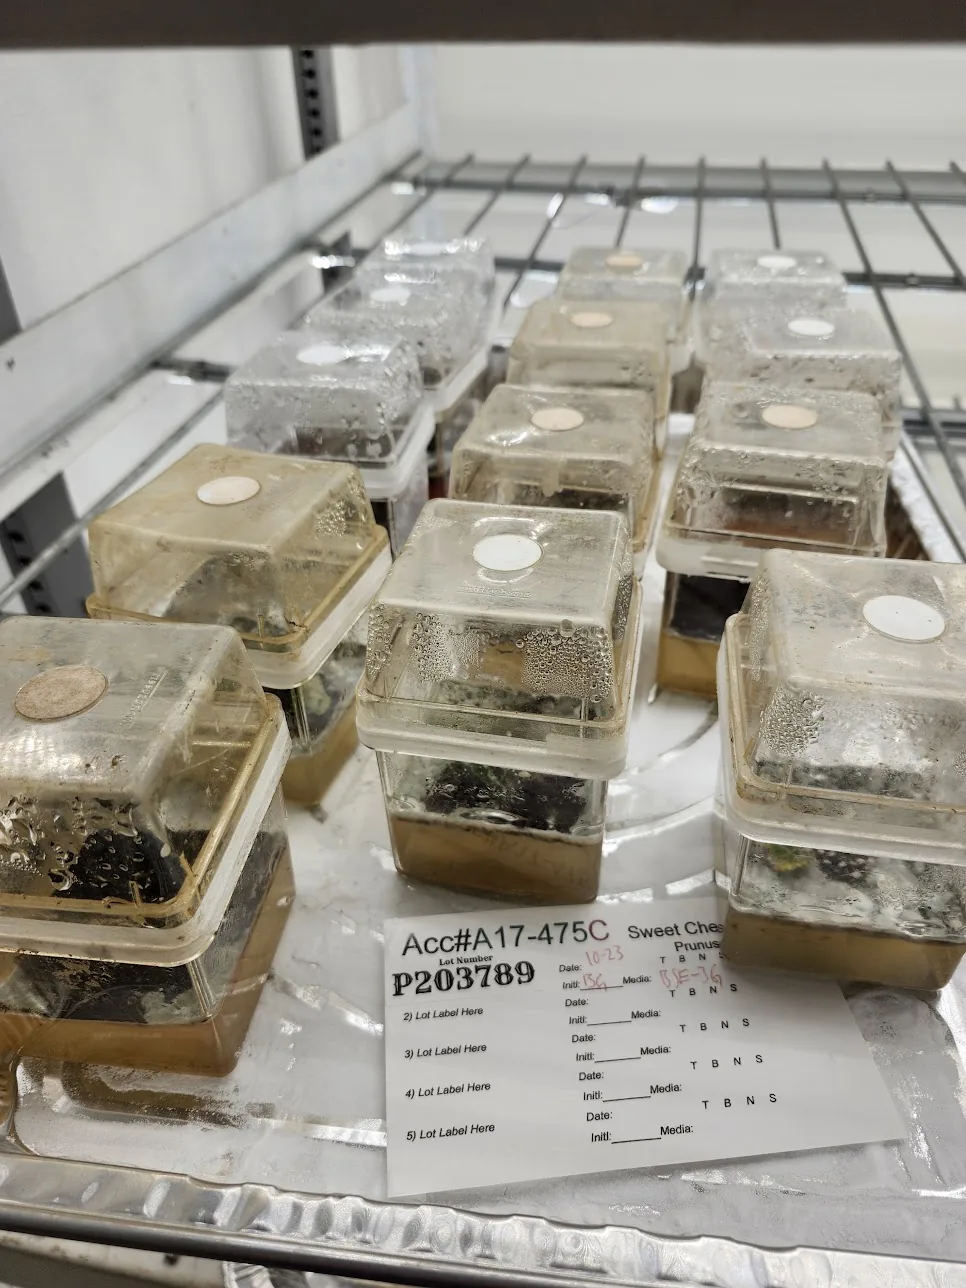
Mites in tissue culture are tiny, so you usually notice the signs before you notice the animal. The first tell is contamination that spreads along a shelf rather than appearing at random. Look in particular for a black, dusty lawn of Aspergillus across the media surface. That black mold is the mites' food source, so wherever you see it, assume mites are nearby and start looking for them.
Step 1: Contain by spreading the cultures out on foil trays
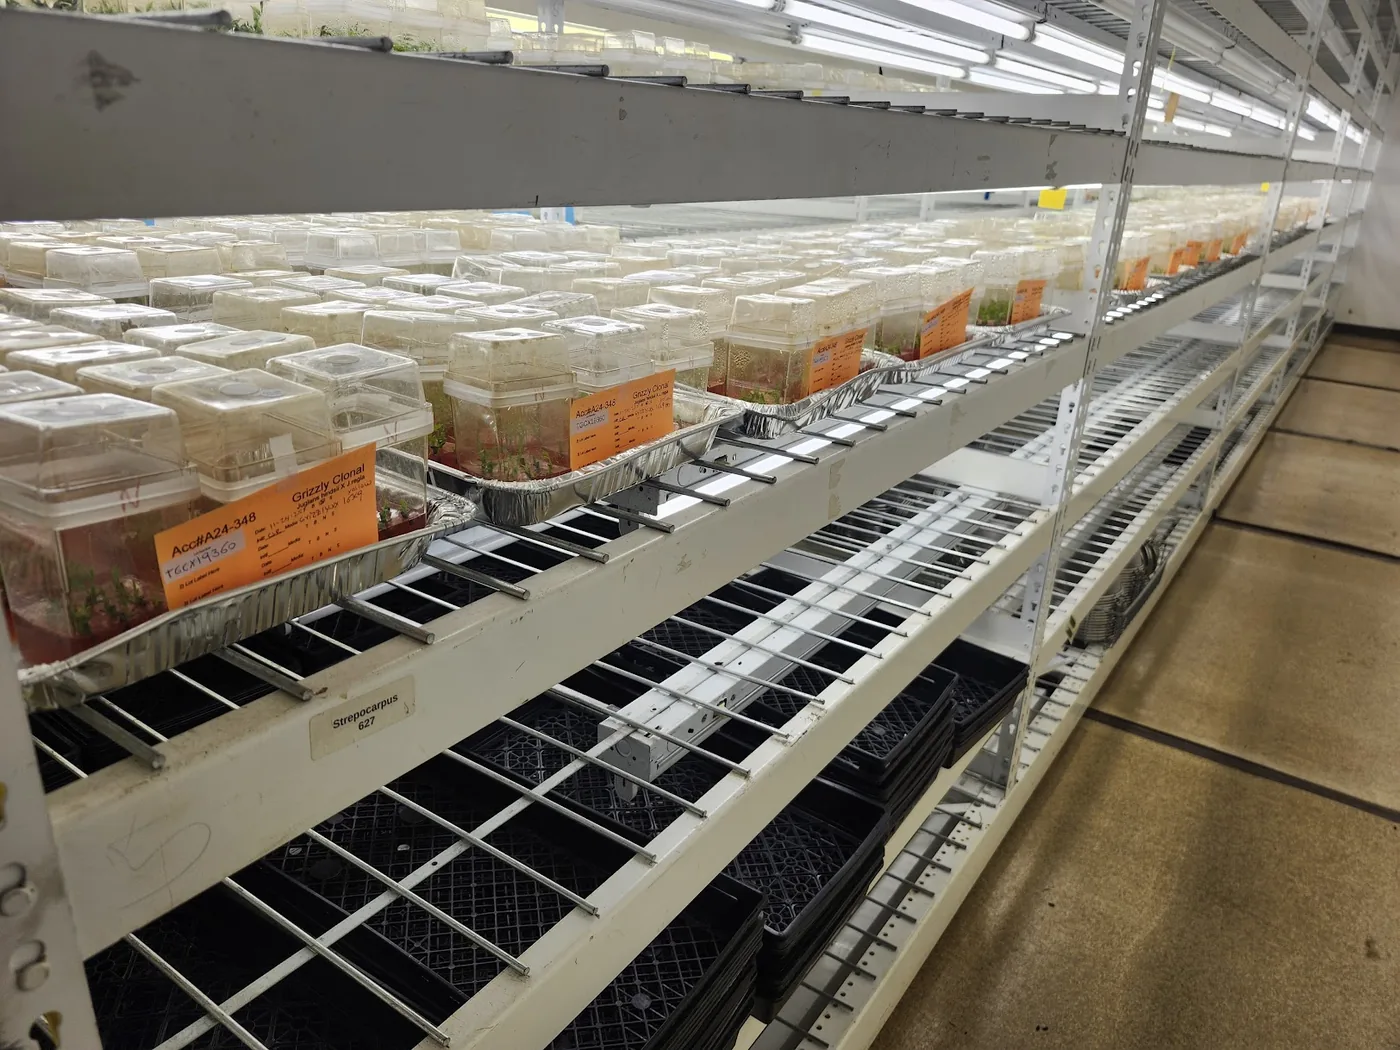
The instant we confirm mites, we stop the spread before doing anything else. Mites travel by walking from vessel to vessel, so the fastest way to slow them down is to break the bridges between boxes. We move every culture box off the normal grid trays and onto aluminum foil trays, spaced out so that no two vessels are touching. If the boxes cannot touch, the mites cannot step from one to the next. They are forced down onto the tray surface, which is where the next step stops them.

The trays we use are heavy-gauge aluminum steam table pans, the same disposable foil pans a catering kitchen uses. We buy ours from ULINE. They are sturdy enough to reuse, the foil takes the borate coating well, and they are cheap enough to keep a dedicated stack for outbreak response.
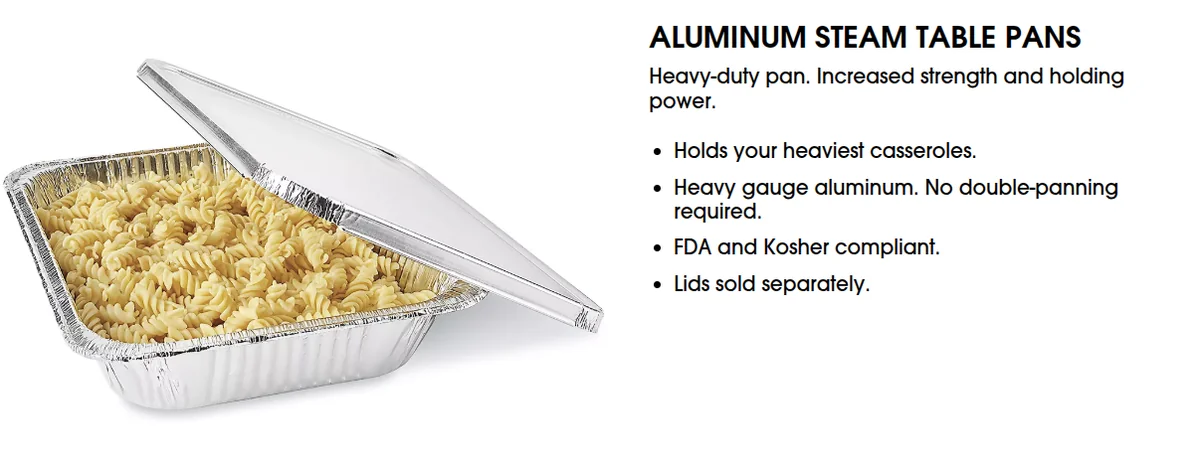
A hundred dollars for fifty trays does not feel cheap until you weigh it against the alternative. If a stack of disposable foil pans is what stops a mite population from marching down the rack and into the rest of your collection, it is one of the cheapest insurance policies in the lab. Prices drift, so check the current ULINE listing, but the math holds at almost any price a foil pan will cost.
Step 2: Build a barrier the mites cannot cross
Spacing the boxes out buys time. The foil tray itself is what holds the line. We treat the trays with a concentrated boric acid (H3BO3) solution so a dried boric-acid residue coats the surface. Mites will not walk across that residue, so a treated tray becomes an island each vessel sits on by itself.
Why the KOH
Boric acid on its own does not dissolve well in water. At room temperature you top out around a few percent, which is not concentrated enough to leave a good residue. Adding a strong base (potassium hydroxide, KOH) converts the boric acid into potassium borate, which is far more soluble. That lets us mix a solution concentrated enough to dry down into an even, effective coating on the foil.
This is where the exact boric-acid mass, KOH mass, and final volume go. Drop in the ratios you actually use so the protocol reads as your working recipe rather than a sketch.
How we apply it:
- Suit up. Goggles, gloves, and a lab coat at minimum. KOH is caustic and the dried borate is an irritant.
- Work in the fume hood if at all possible. Dissolving KOH is exothermic, so add the KOH to the water slowly, never the reverse, and let it cool.
- Spray the aluminum trays with the borate solution, coating the surface evenly.
- Let them dry completely. The barrier is the dried residue. A wet tray has not done anything yet.
- Swap the treated trays in for the normal grid trays. From here on, cultures in the affected area sit on treated foil.
Boron is a plant micronutrient, which means it is also phytotoxic in excess, so a little goes a long way. The residue belongs on the tray, not in the media. Treat and dry the trays before the closed vessels go back on them, and do not let spray drift into open boxes.
Step 3: Starve the source by removing the Aspergillus
Containment and barriers slow the mites. Removing what they eat is what ends the outbreak. The mites we see feed on Aspergillus, the black, dusty mold that grows as a lawn over the media in a contaminated box. As long as that food is on the shelf, there is a reason for the population to rebuild.
Pulling the Aspergillus boxes does double duty: it removes the contamination and starves the mites in the same pass.
So alongside Steps 1 and 2, we go through the affected area and pull every box showing the black Aspergillus lawn. For each one:
- Look for the mites in the box before you move it. Confirming they are there tells you how far the outbreak has reached.
- Autoclave the box. Do not just bin it. Autoclaving kills the mites, the Aspergillus, and any spores they are carrying in one step, so nothing walks or blows back onto the shelf.
Keeping it from coming back
- Keep the treated foil trays in service in the affected area until you have gone a good stretch with no new signs.
- Keep cultures spaced. Touching vessels are the re-infection path.
- Watch for the black lawn. Aspergillus reappearing is the early warning that mites may be back, so treat a new black-mold box as a reason to re-inspect, not just a routine cull.
- Inspect the neighbors. Mites travel, so the shelf next to the problem is the most likely next hit.
Safety recap
- Boric acid and potassium borate are for trays only, never near open cultures or plant tissue (boron is phytotoxic).
- Mix and spray in a fume hood with goggles, gloves, and a coat.
- Add KOH to water slowly (it is exothermic) and let it cool before use.
- Autoclave pulled boxes rather than binning them, so nothing escapes on the way to the trash.